Creating and Using Dynamic Secrets
Deeper Dive
For more in-depth information, check out our detailed documentation on the following topics:
Dynamic SecretsDatabase Dynamic SecretAWS Dynamic Secret
Need any help?
If something in this tutorial isn't working as expected, feel free to contact our support team via Slack.
Below is a text-only guide for users based on the above video
What is a Dynamic Secret?
Dynamic Secrets eliminate the need for any long-lived standing credentials. They work by requesting a new temporary user and password from the application or resource being accessed, and getting it delivered just-in-time to be used for a specified duration and then erased, never to be used again.
Before creating and using Dynamic Secrets, there are a couple of prerequisites to keep in mind. As noted earlier, your Gateway should be on an https endpoint as an http endpoint will cause issues creating Dynamic Secrets from the Console. Also, your Target must be configured with the correct privileged credentials in order for this to work or you will receive an error.
Creating a MySQL Dynamic Secret via the UI
Click ‘New’ --> ‘Dynamic Secret’ and choose 'MySQL' from the list. Then choose ‘Next’.
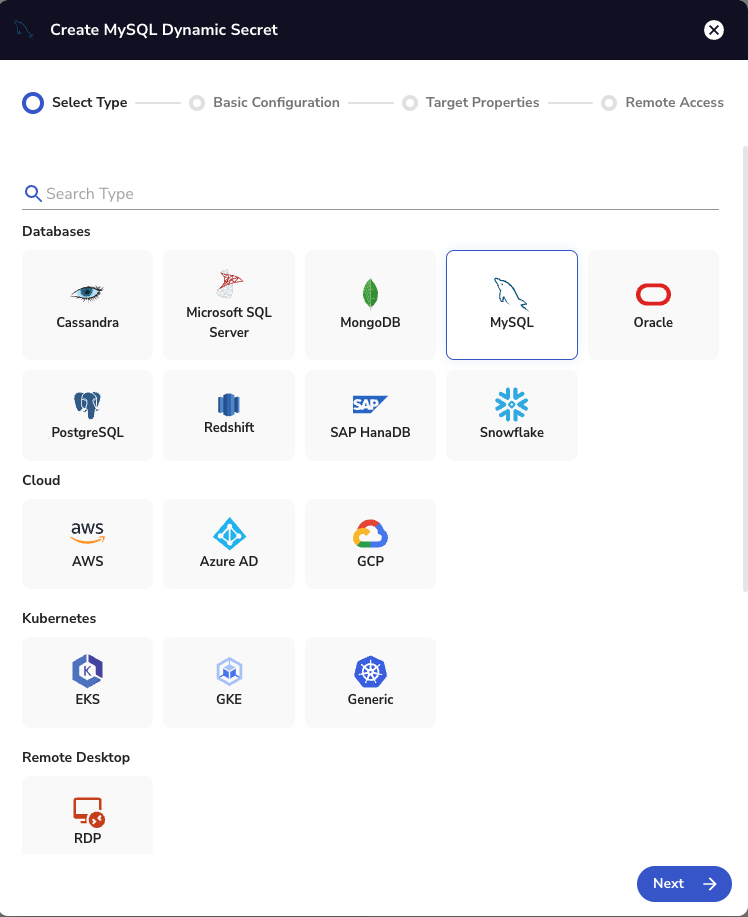
On the next screen, add the required details as follows:
- Dynamic Secret Name
- In "Choose an existing target", choose the MySQL Target we created in the last video
- For the Creation Statement , ensure it matches a new user creation for your version of MySQL
- Time To Live (TTL) for the Dynamic Secret
- Choose your Gateway
Then click 'Finish'.
You can now see the Secret in your Console under 'Secrets & Keys'.
Get a New Dynamic Secret via the UI
Click the ‘Get Dynamic Secret’ button which will then pop up a message showing your information to use for logging into that MySQL instance with access to the specific database.
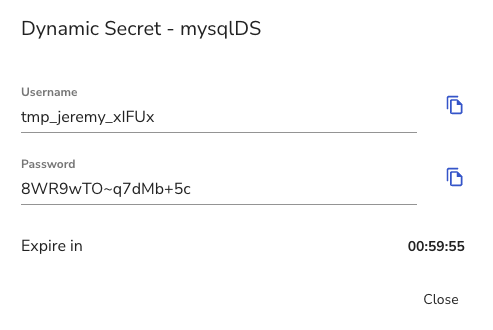
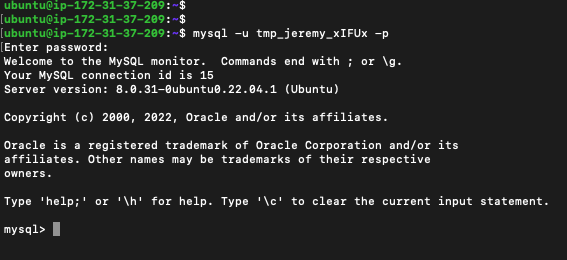
You can now use those credentials to login.
Creating an AWS Dynamic Secret via the CLI
Go to your terminal and run the following command:
akeyless gateway-create-producer-aws --name <name_of_dynamic_secret> --target-name <your_target_name> --gateway-url 'https://<gateway_URL>:8000/' --aws-access-mode <iam_user | assume_role (depending on your preferred option)>You will then see the following:

And you will be able to see the Dynamic Secret created in the Console as well:
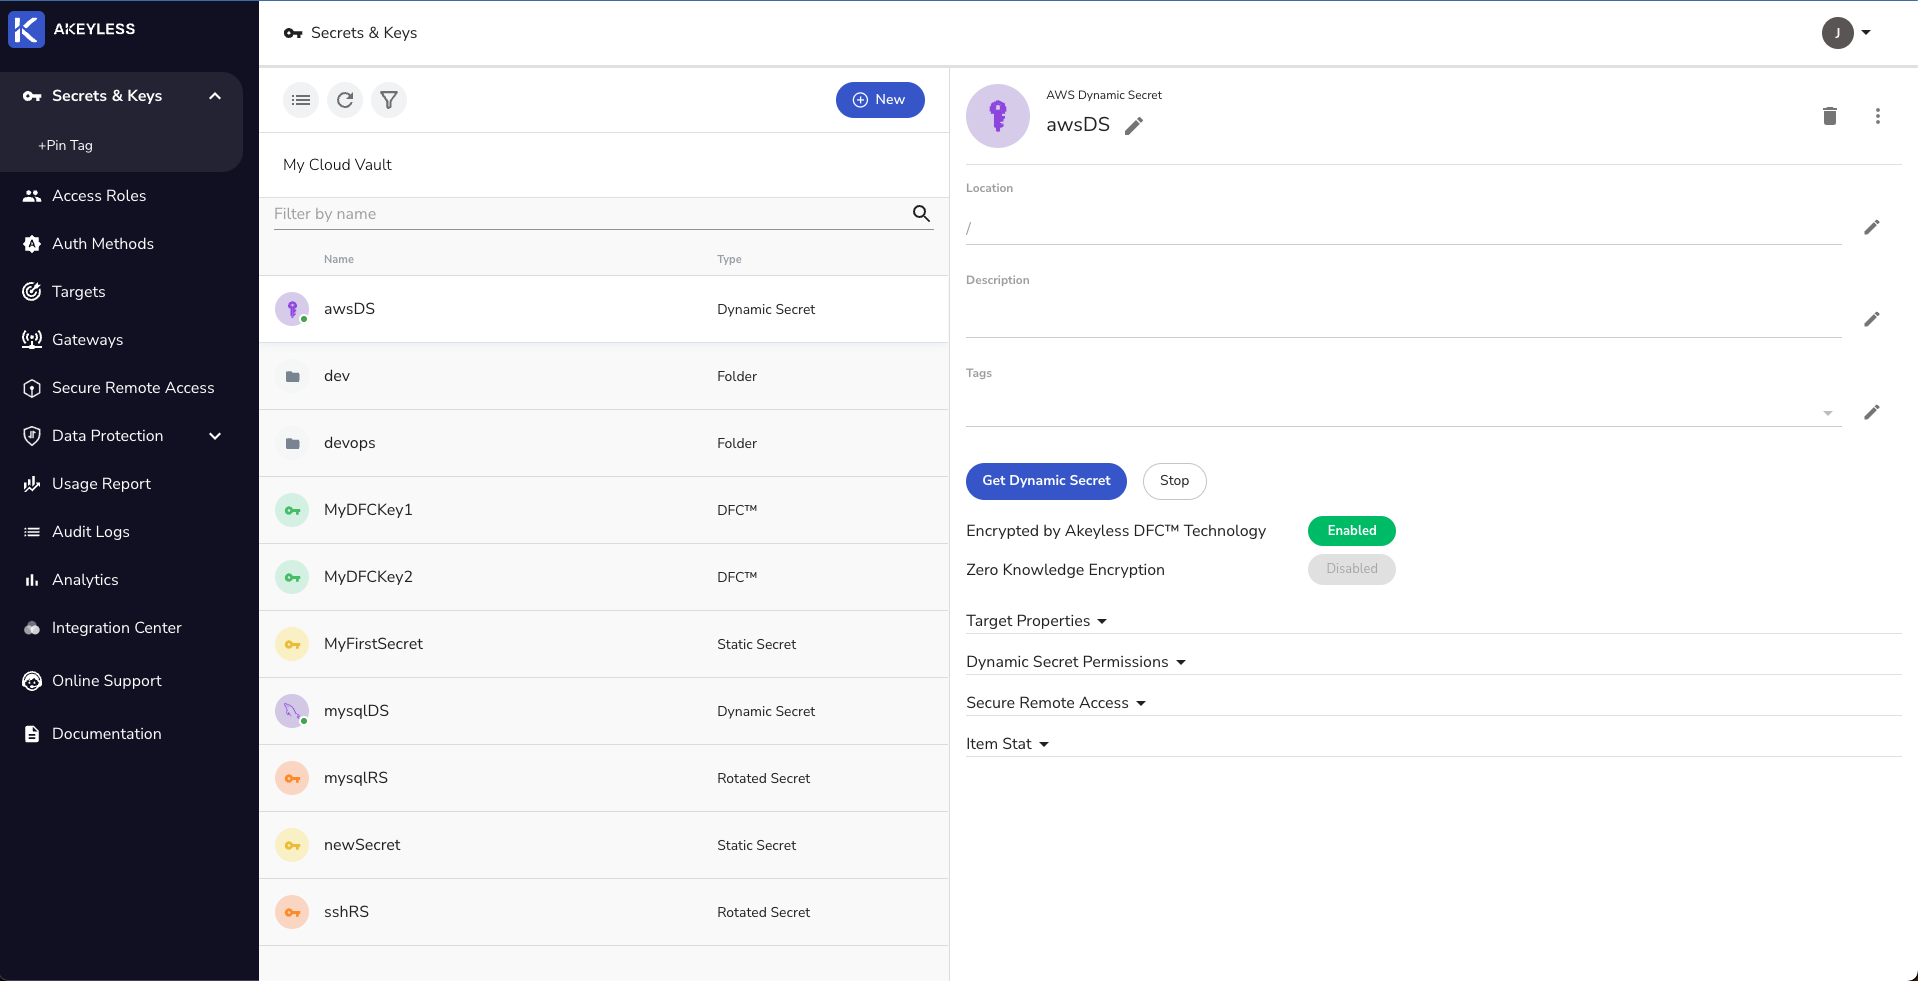
Get a New Dynamic Secret via the CLI
Use the following command to fetch a new Dynamic Secret:
akeyless get-dynamic-secret-value --name <path_to_dynamic_secret>You will then see the following information that can be used to login to your AWS Console:
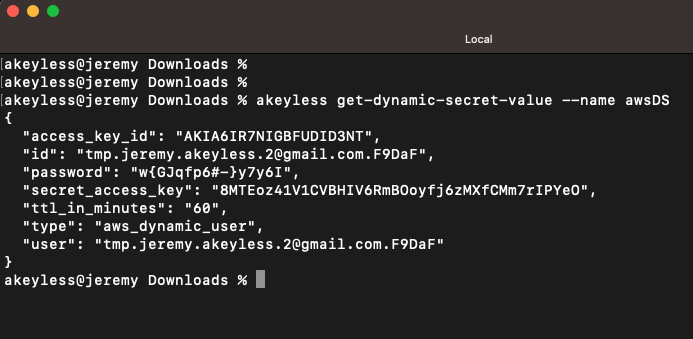
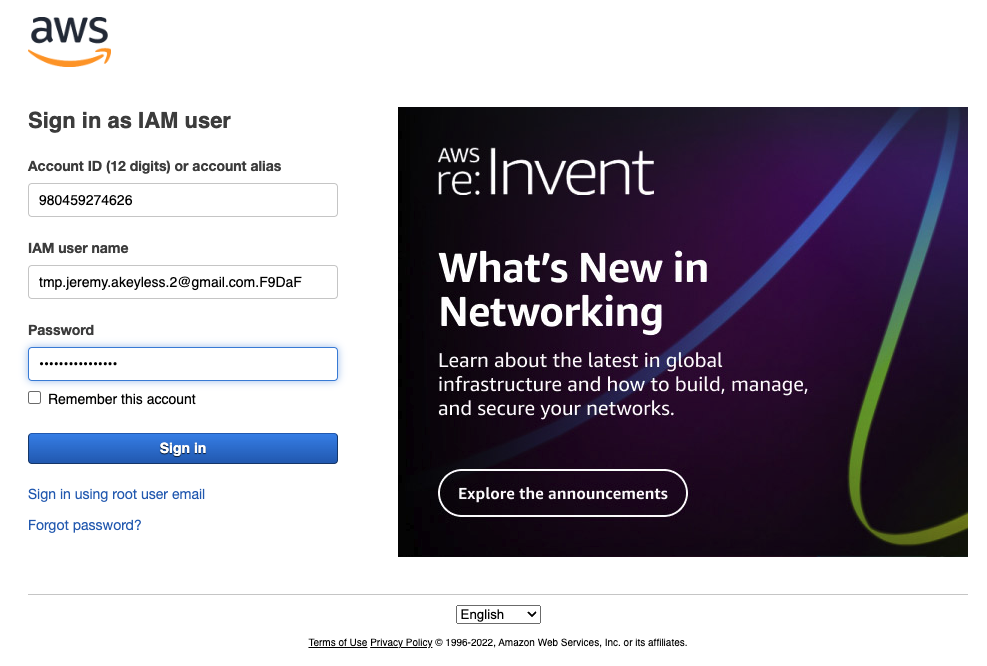
These details 'id' and 'password' can now be used for 60 minutes to login to your AWS account:
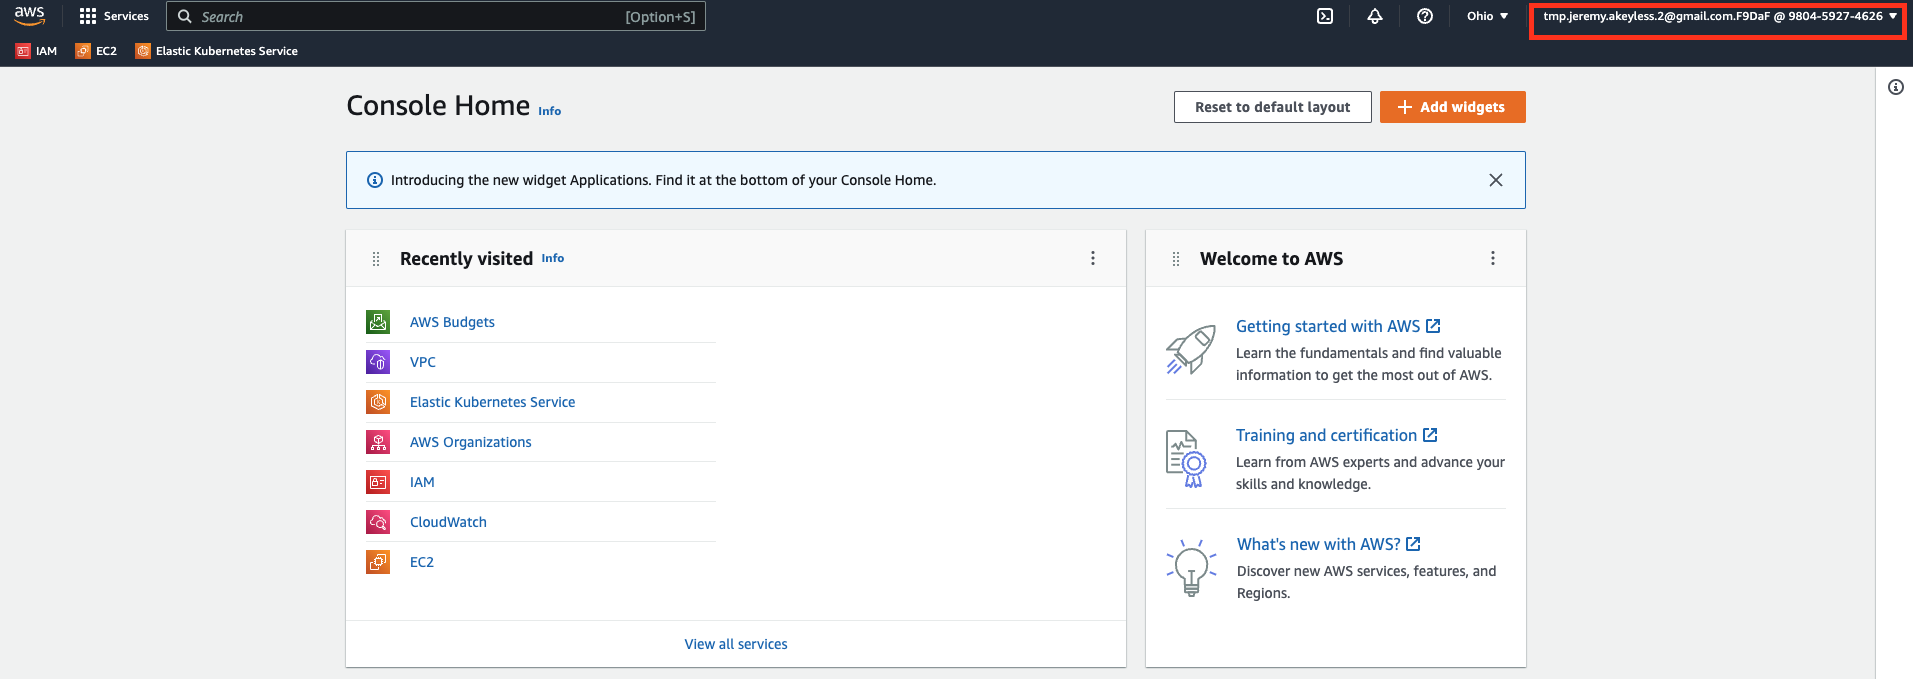
Notice that you have the temporary 'IAM user name' on the top right corner when logged in:
Updated 2 months ago
