
Injecting Secrets into a Kubernetes Cluster
Deeper DiveFor more in-depth information, check out our detailed documentation on the following topics:
Need any help?If something in this tutorial isn't working as expected, feel free to contact our support team via Slack.
Below is a text-only guide for users based on the above video
Why use a Secrets Management Platform to Manage Kubernetes Secrets?
There-are a-few reasons to use an external secrets management platform for managing Kubernetes secrets:
- Native Kubernetes secrets are merely Base64 encoded and easily decoded by anyone with access, whereas external managers enforce true encryption-at-rest using robust KMS or HSM systems. This ensures your sensitive data is safe from exposure, even if your underlying cluster database is compromised.
- Kubernetes RBAC is not fine-grained, typically forcing an "all-or-nothing" approach where granting access to one secret grants access to every secret within that namespace. It also lacks the ability to enforce the path-level policies, time-bound permissions, and multi-factor conditions that dedicated secret managers provide.
- Kubernetes has no built-in auto-rotation mechanism, meaning leaked credentials require risky manual intervention to update. External secret managers automate the versioning, tracking, and rotation of keys, and can even generate ephemeral dynamic credentials.
- Kubernetes has no method for managing all your credentials in one place for multiple Kubernetes clusters, cloud virtual machines, and serverless workloads simultaneously. External secret managers offer a single source of truth.
The Akeyless Kubernetes Secret Injector
Akeyless Kubernetes Secrets Injector enables Kubernetes applications and workloads to inject Static Rotated and Dynamic secrets as well as Certificates and externally managed secrets into pods sourced from an Akeyless user account.
Init Container
Before the application starts, the injector deploys an init container to fetch and inject secrets into the pod at startup, after which the init container shuts down. This can be used for static, dynamic, and rotated secrets as well as certificates and external secrets.
Sidecar Container
In addition to that, we offer another option that uses a sidecar container deployed alongside the init container which enables updating secrets at specific intervals. The sidecar container continuously monitors changes to secrets inside Akeyless, so if the value for a static secret, rotated secret, certificate, or external secret changes, the sidecar will fetch the new version and update it automatically.
Demo Setup
In this demo we will start on the Akeyless side. First we will create an access role for our Kubernetes authentication method, which we created in a previous video, and give it enough permissions to fetch secrets. We will also create a static secret to be injected into Kubernetes.
We will then move to the user's local environment where we will use the Akeyless CLI to download, edit and deploy the Kubernetes Secret Injector.
Lastly, we will move to the Kubernetes side, where we will demonstrate how to inject the secret into the container at runtime using an init container and then a second example with an additional sidecar container which will check for changes in the secret value every 30 seconds and we will see the change take place.
Kubernetes Secret Injection Demo
PrerequisitesBefore continuing, make sure you have the following:
- A Kubernetes cluster running Kubernetes v1.16 or later.
- Helm installed on your machine.
- A Kubernetes Authentication Method in Akeyless, which we covered in a previous video. This includes the Gateway.
- The Kubernetes Mutating Admission Webhook admission controllers enabled, which should be on by default.
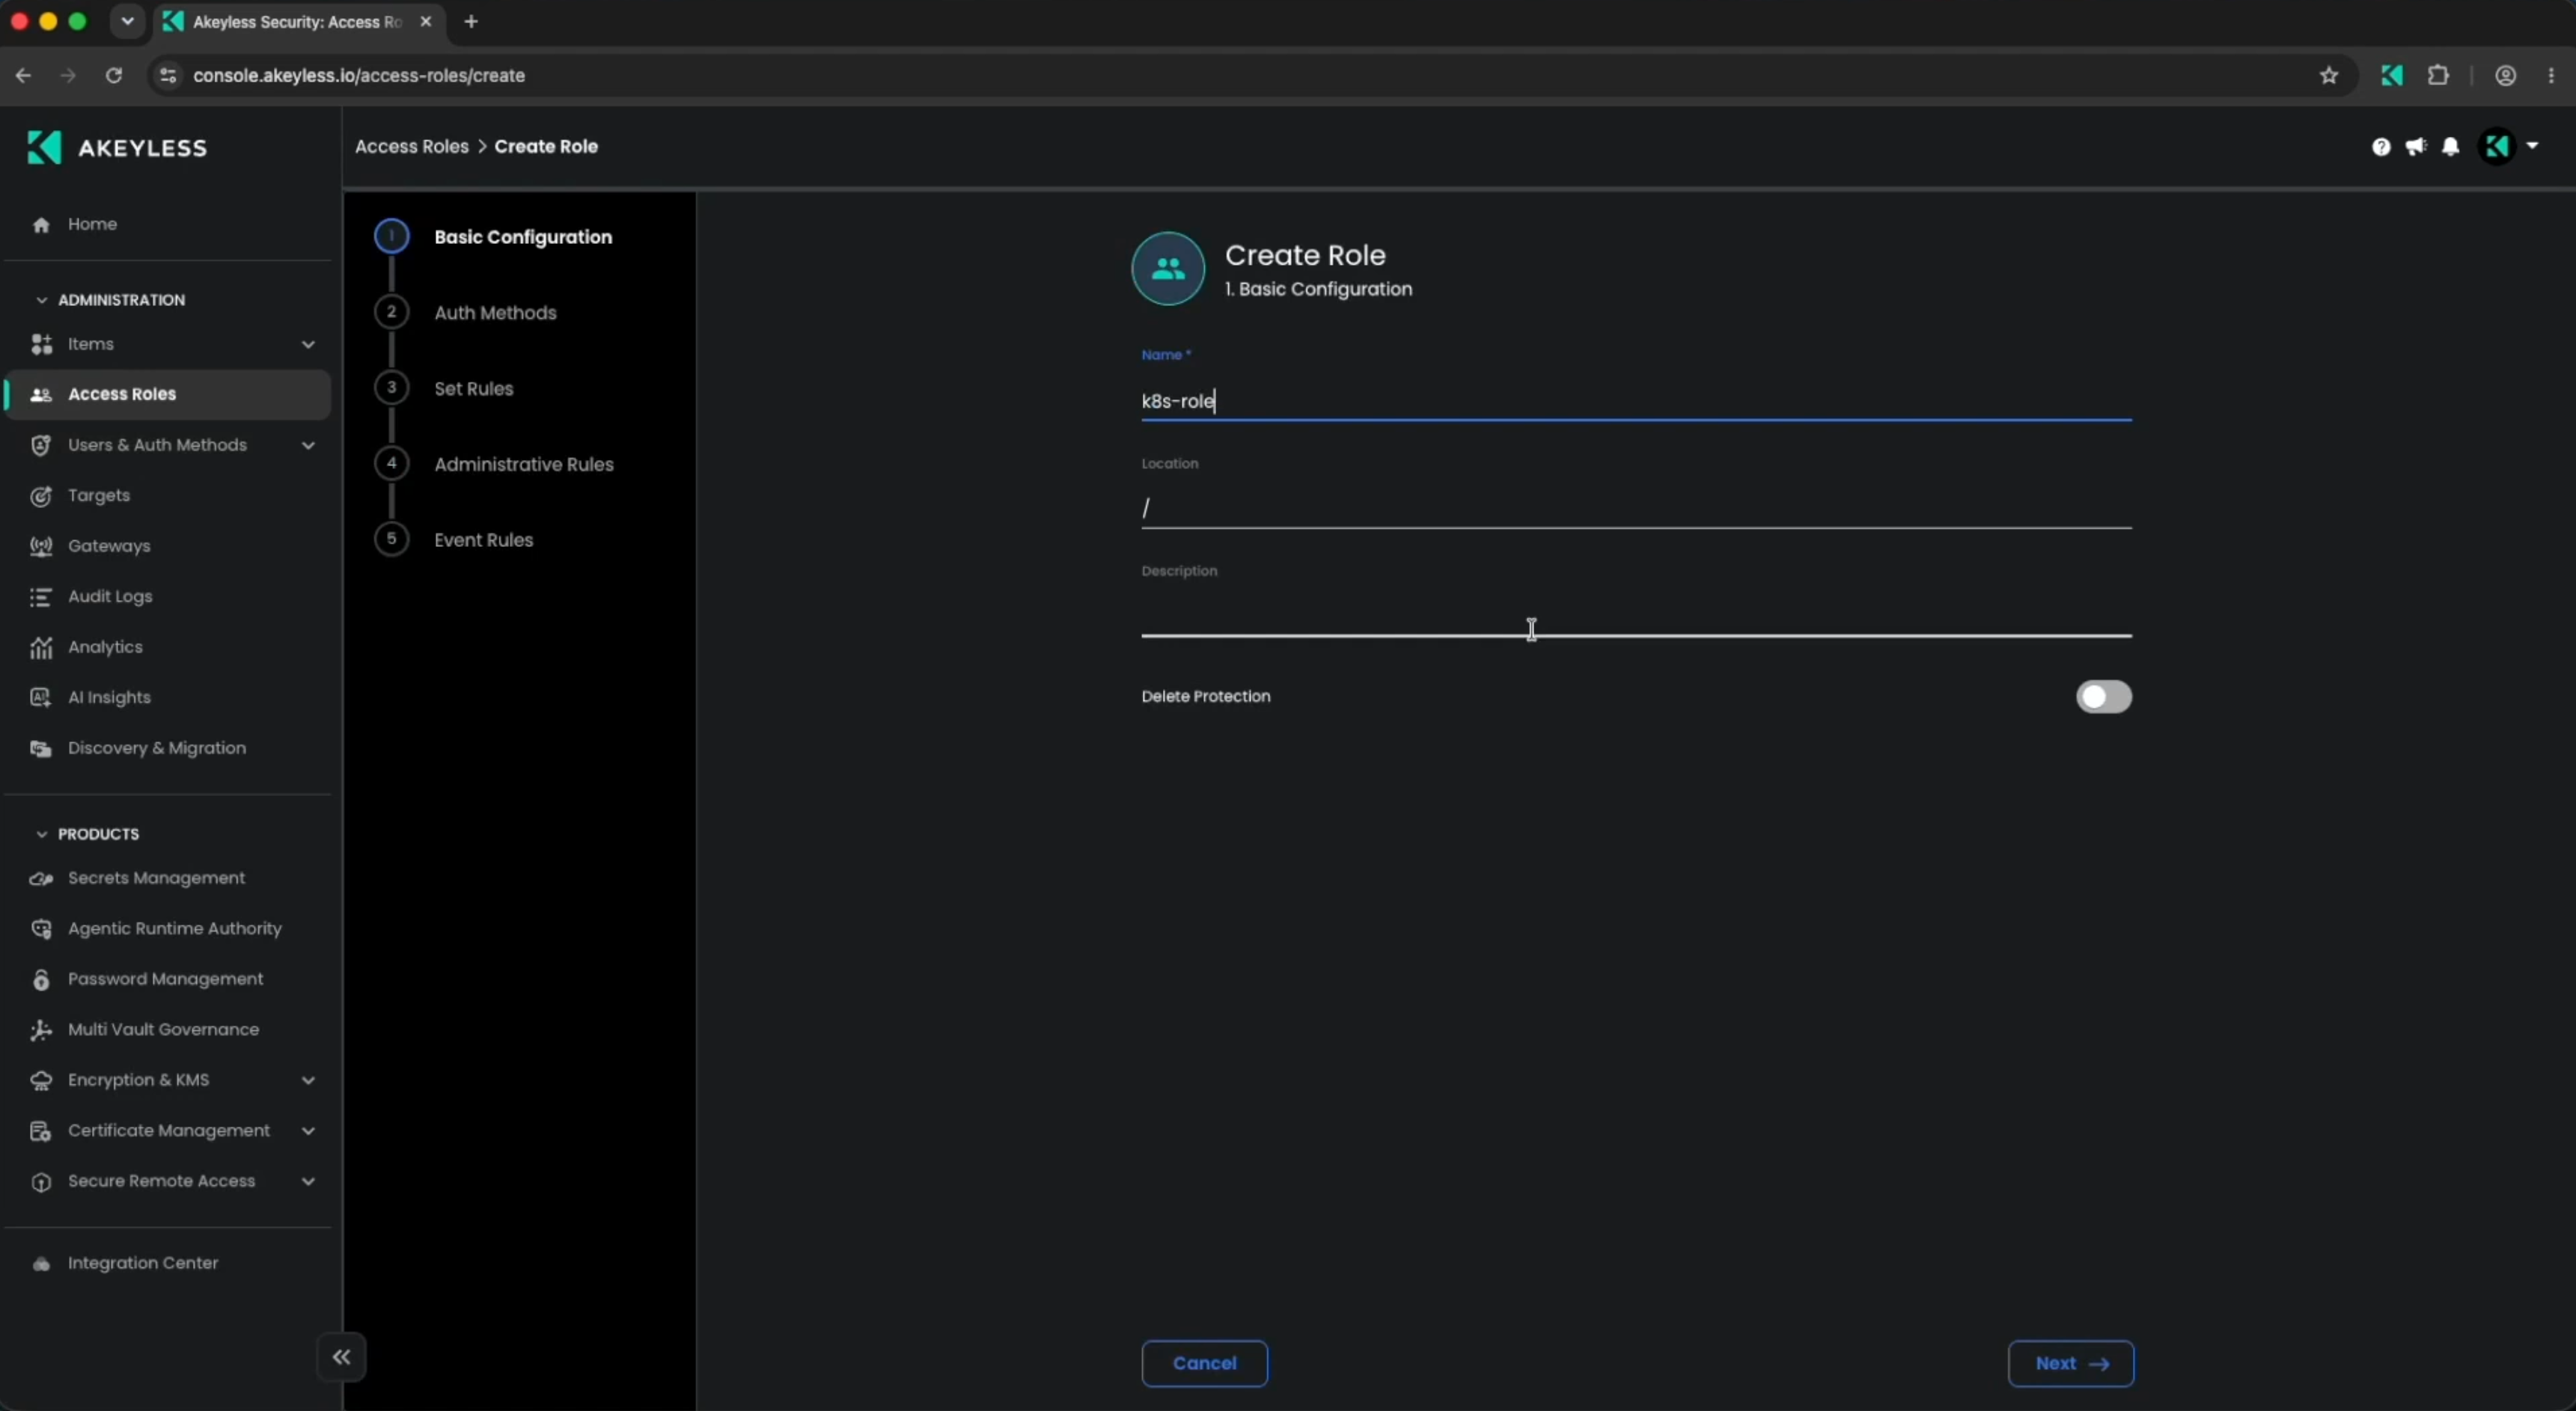
Create a Role
With our Kubernetes Authentication Method created already, the next thing to do is create a Role for it.
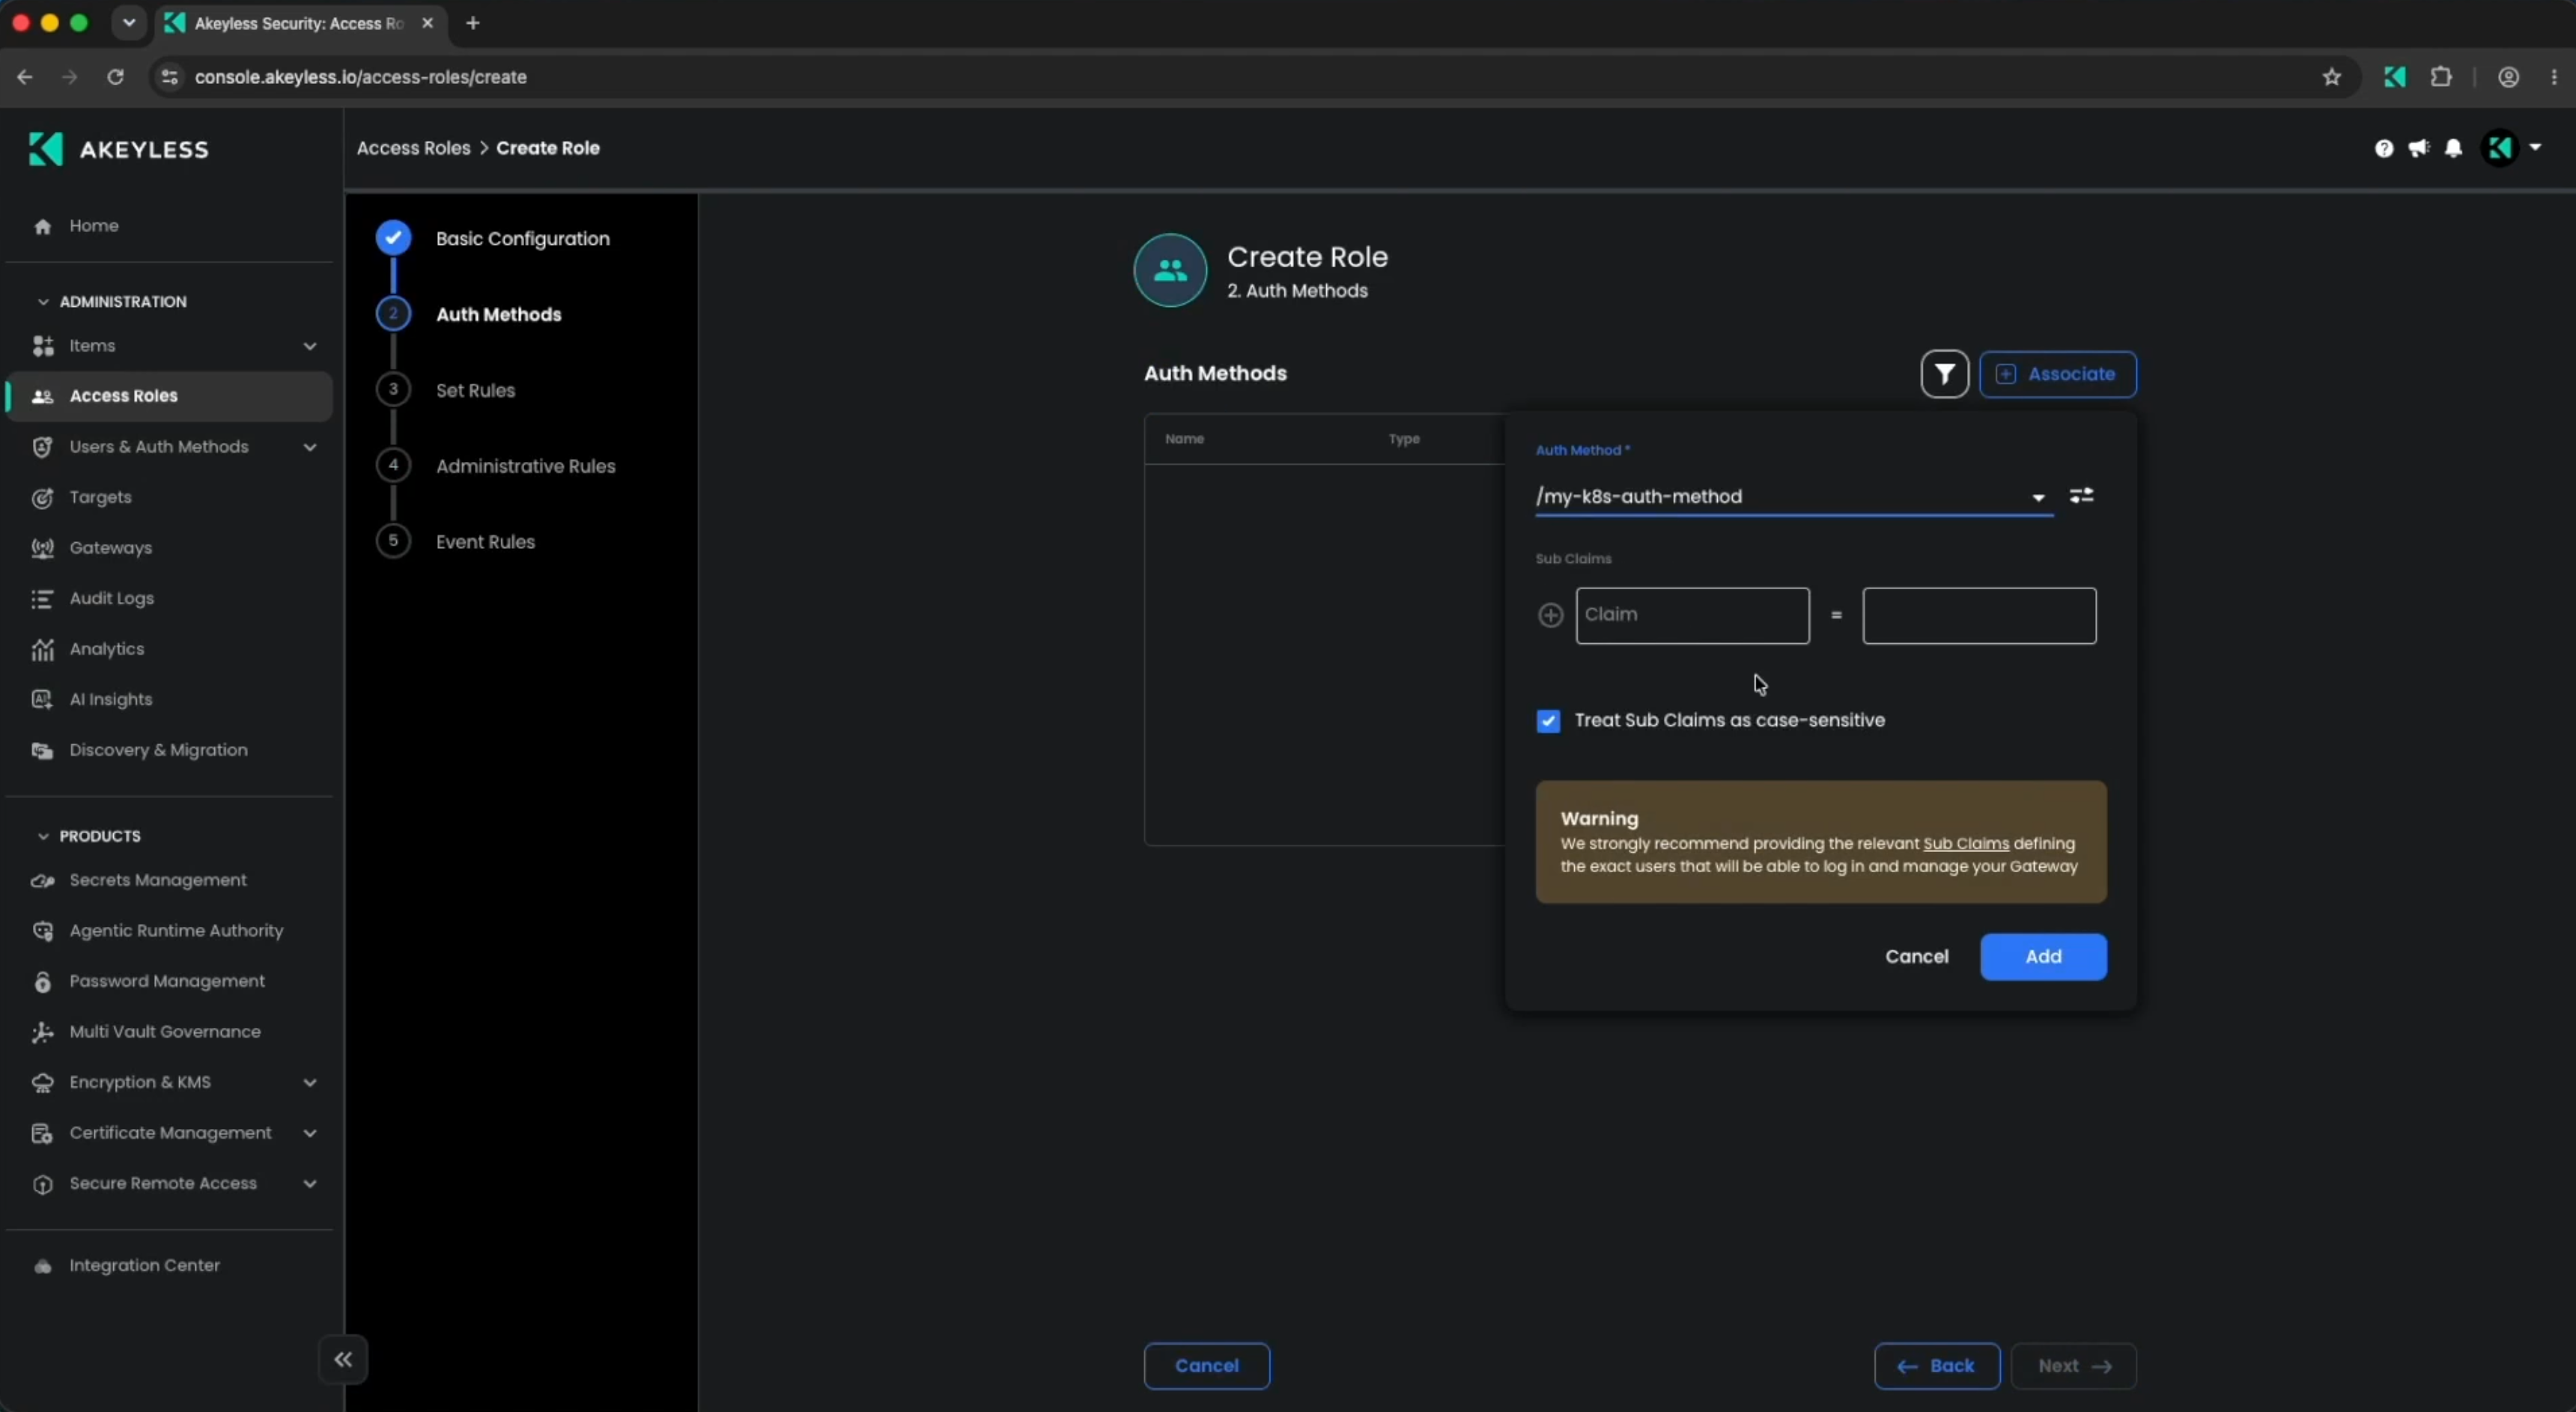
Associate the Role with the Authentication Method.
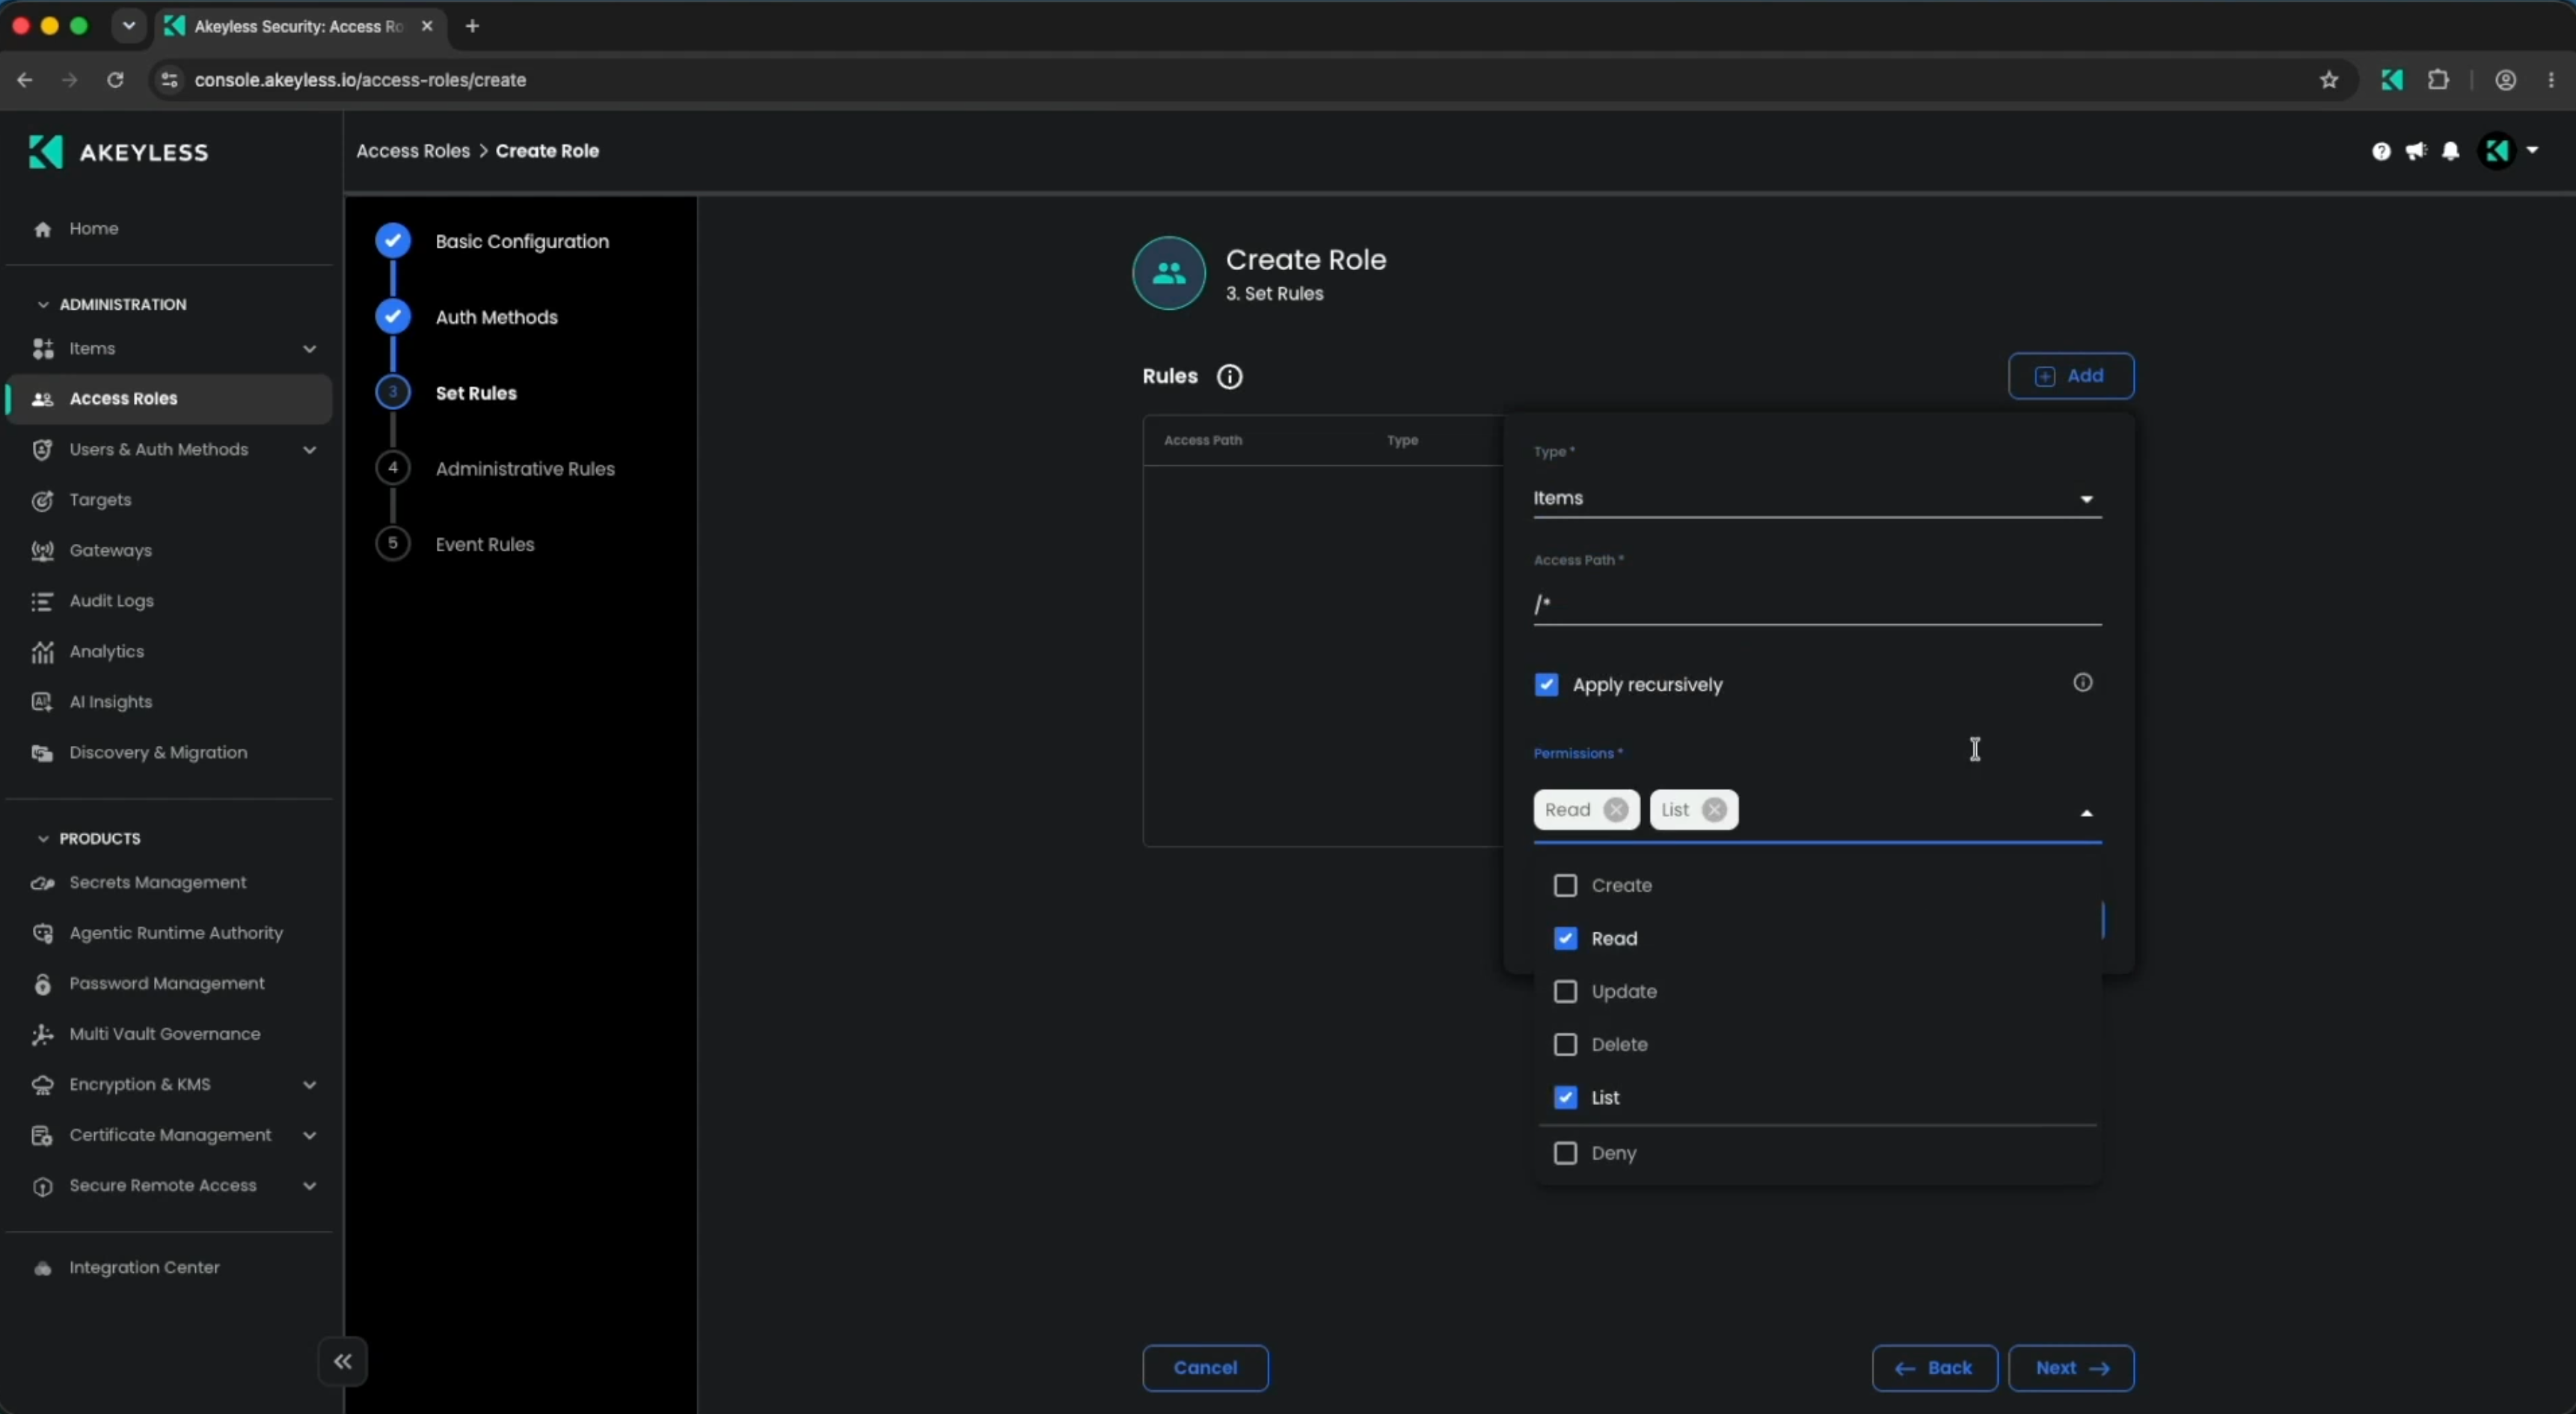
And give it Read and List access to our secret.
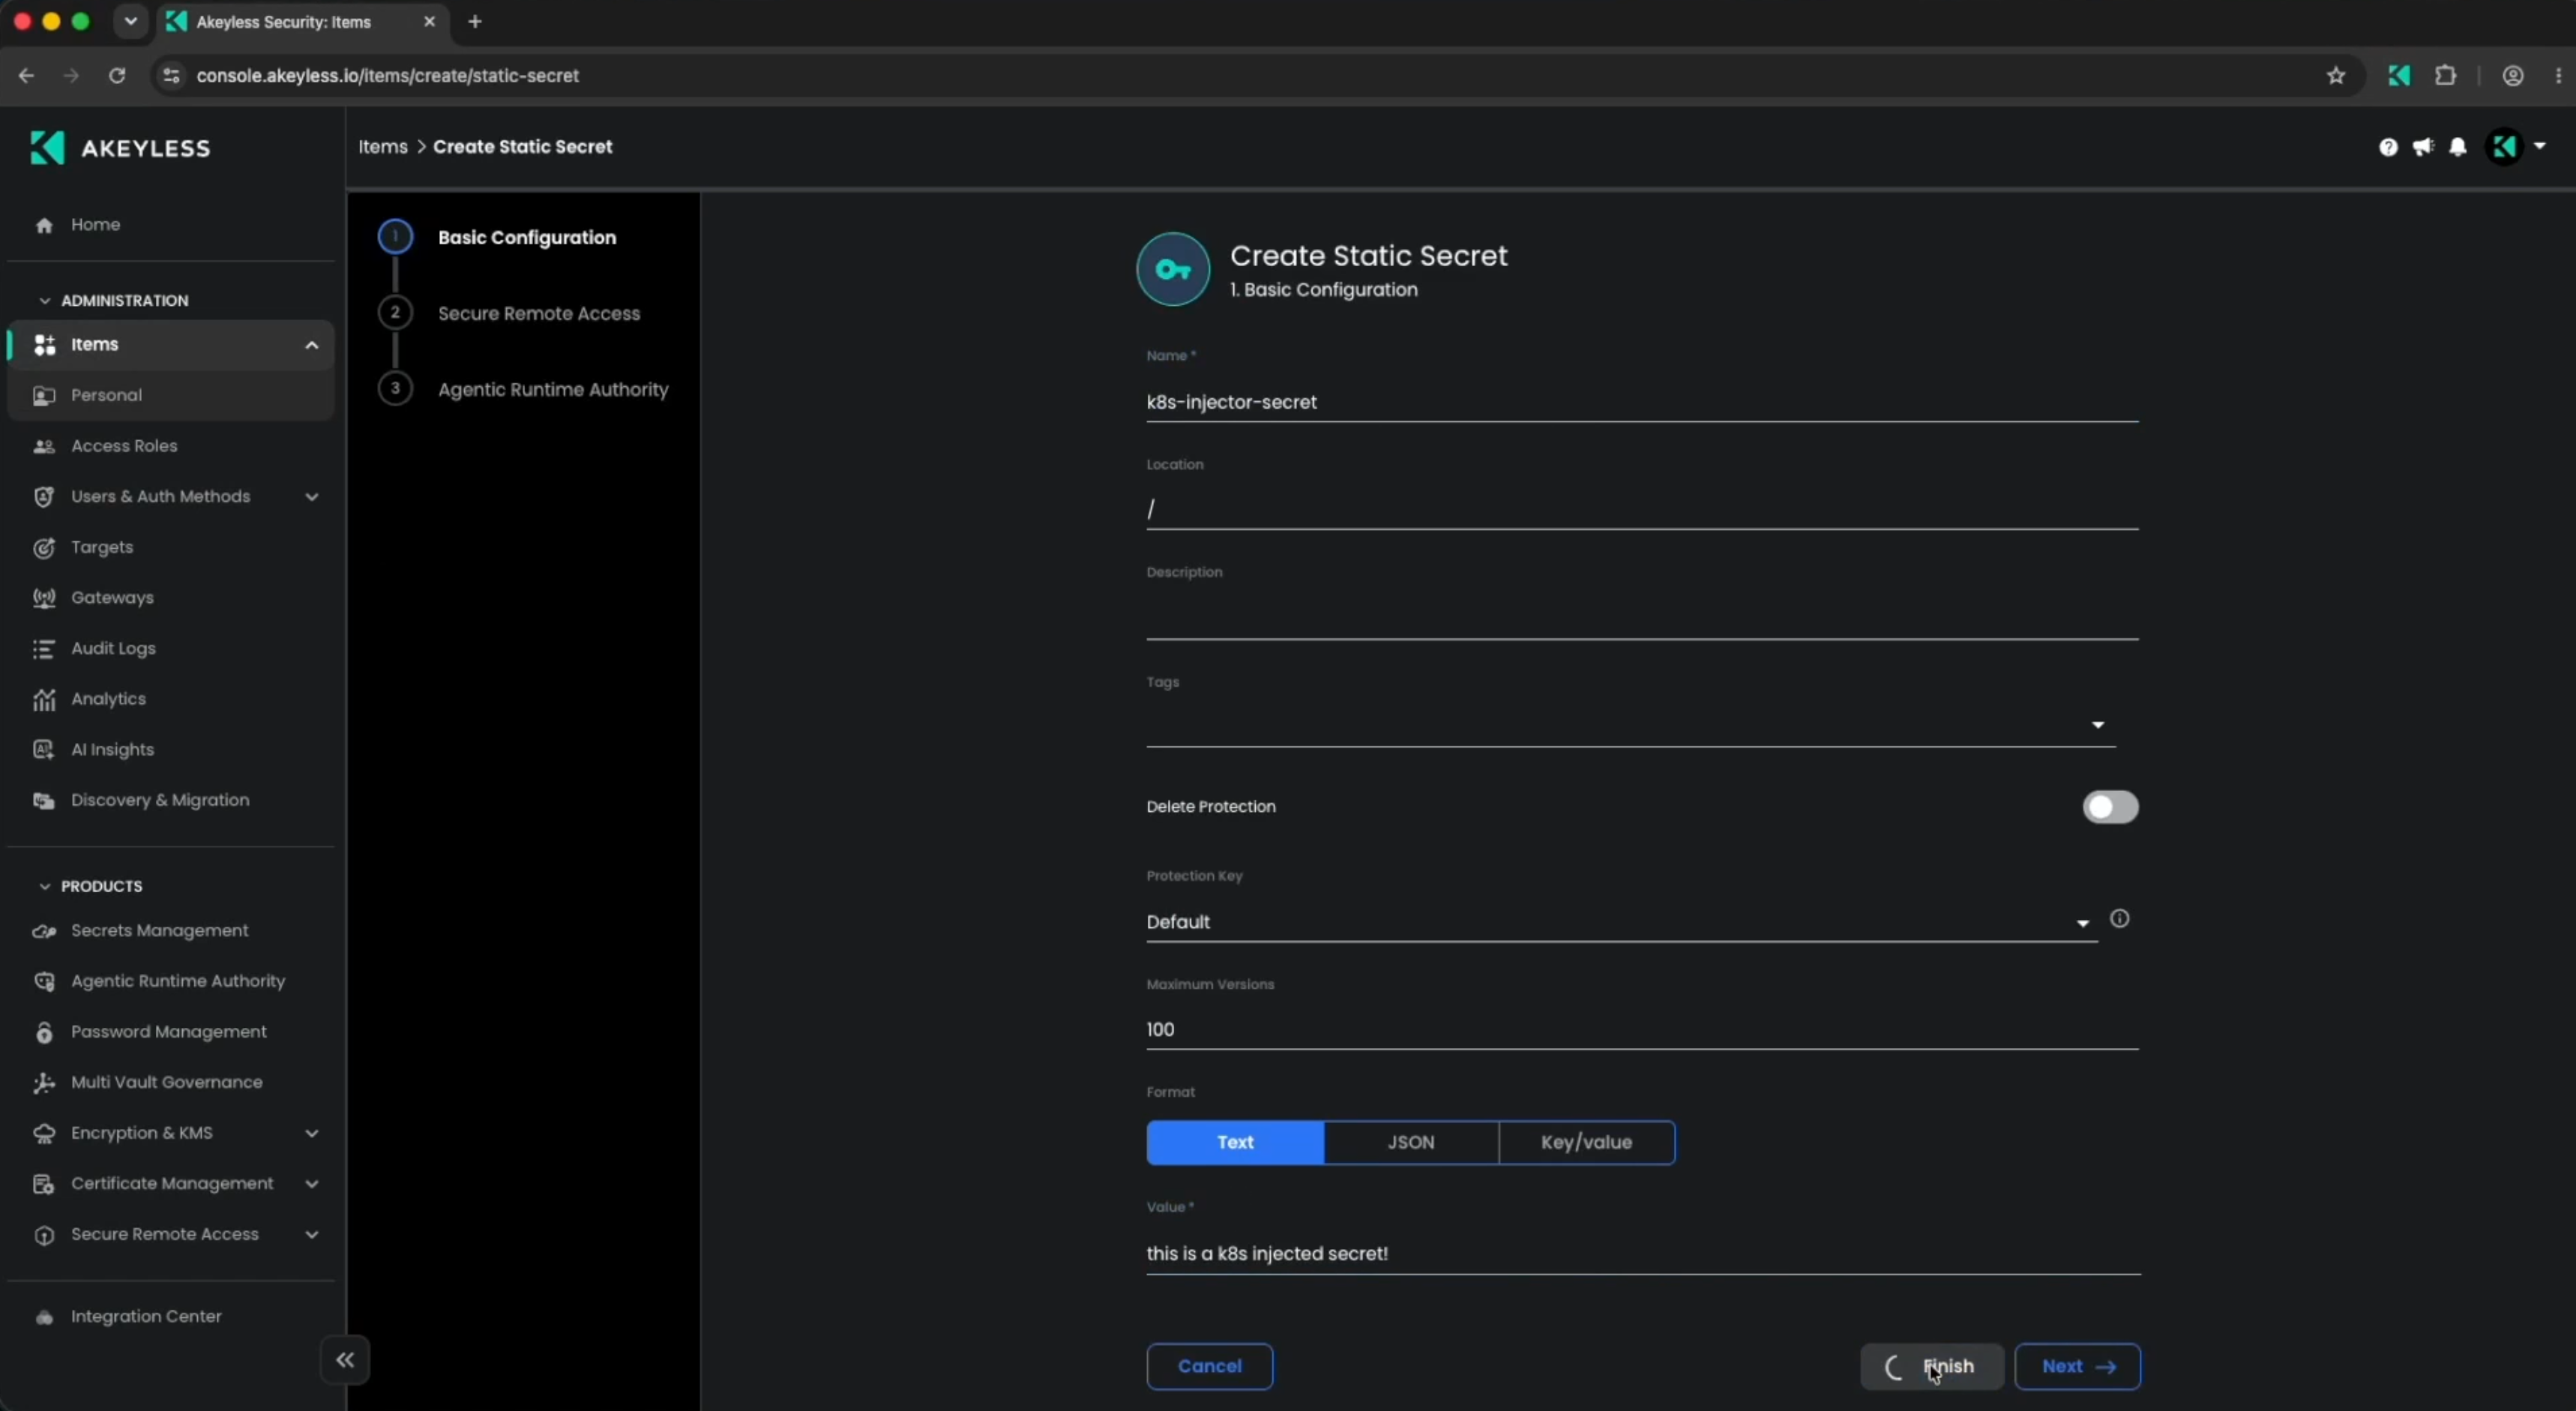
Create a Secret
Create a static secret or dynamic secret in Akeyless.
We will create a static secret called k8s-injector-secret:
Configure the Akeyless K8s Plugin
Install Helm. The Akeyless Helm chart is available here.
Run the following commands to install the Helm chart:
helm repo add akeyless https://akeylesslabs.github.io/helm-charts
helm repo update
Fetch the injector-values.yaml file locally, and modify the access credential values in the file using the following command:
helm show values akeyless/akeyless-secrets-injection > injector-values.yamlEdit the file injector-values.yaml on your desktop or using an editor such as 'vi'. For example:
vi injector-values.yamlOnce inside the file, find the following values and edit them as follows:
AKEYLESS_URL: "https://vault.akeyless.io"
AKEYLESS_ACCESS_ID: "<your-k8s-auth-method-access-id>"
AKEYLESS_ACCESS_TYPE: "k8s"
AKEYLESS_API_GW_URL: "https://gateway.url/api/v1"
AKEYLESS_K8S_AUTH_CONF_NAME: "<your-k8s-conf-name-in-the-gateway>"
On your K8s cluster, create a new namespace (we called it Akeyless):
kubectl create namespace akeyless-k8s-injector
kubectl label namespace akeyless-k8s-injector name=akeyless
Deploy the Helm chart to the namespace:
helm install aks akeyless/akeyless-secrets-injection --namespace akeyless-k8s-injector -f injector-values.yamlValidate the deployment state:
kubectl get all -n akeyless-k8s-injectorOutput should look something like this:
kubectl get all -n akeyless-k8s-injector
NAME                                                  READY   STATUS    RESTARTS       AGE
pod/aks-akeyless-secrets-injection-77c857d496-r5xth   1/1     Running   1 (73s ago)   1d

NAME                                     TYPE        CLUSTER-IP      EXTERNAL-IP   PORT(S)   AGE
service/aks-akeyless-secrets-injection   ClusterIP   10.97.228.133   <none>        443/TCP   1d

NAME                                             READY   UP-TO-DATE   AVAILABLE   AGE
deployment.apps/aks-akeyless-secrets-injection   1/1     1            1           1d

NAME                                                        DESIRED   CURRENT   READY   AGE
replicaset.apps/aks-akeyless-secrets-injection-77c857d496   1         1         1       1d
Create the init Container and Inject a Secret at Runtime
NoteIn this demo, we are using the basic environment variable secret injection option. You can also inject multiple files or even a folder. For more info, check out the docs. This also works with rollout restart.
Create a file called injectorenv.yaml with the following command which will enable the Akeyless webhook and env annotations to inject k8s-injector-secret into the pod's filesystem:
cat << EOF > injectorenv.yaml
apiVersion: apps/v1
kind: Deployment
metadata:
  name: test
spec:
  replicas: 1
  selector:
    matchLabels:
      app: hello-secrets
  template:
    metadata:
      labels:
        app: hello-secrets
      annotations:
        akeyless/enabled: "true"
    spec:
      containers:
      - name: alpine
        image: alpine
        command:
          - "sh"
          - "-c"
          - "echo \$MY_SECRET && sleep 10000"
        env:
        - name: MY_SECRET
          value: akeyless:/k8s-injector-secret
EOF
Then run the following command to deploy it:
kubectl apply -f injectorenv.yamlThis will create a new pod called 'test-...' which you can find by running:
kubectl get podsCheck the logs of the app by running:
kubectl logs -l app=hello-secretsYou should see output similar to the following showing the value of the secret inside your pod:
Defaulted container "alpine" out of: alpine, init (init)
<your secret value>
Sidecar Mode with init container
Create a file called sidecar.yaml with the following command which will enable the Akeyless webhook, sidecar, and injection annotations. This will spin up an initial init container which will will inject k8s-injector-secret into the secretsVersion.json file inside the pod's filesystem and then the sidecar container will automatically poll Akeyless for new data every 30 seconds. If the secret value is changed in that time, the sidecar container overwrites the secretsVersion.json with the new data added:
cat << EOF > sidecar.yaml
apiVersion: apps/v1
kind: Deployment
metadata:
  name: test-file
spec:
  replicas: 1
  selector:
    matchLabels:
      app: file-secrets
  template:
    metadata:
      labels:
        app: file-secrets
      annotations:
        akeyless/enabled: "true"
        akeyless/inject_file: "/k8s-injector-secret|location=/secrets/secretsVersion.json"
        akeyless/side_car_enabled: "true"
        akeyless/side_car_refresh_interval: "30s"
        akeyless/side_car_versions_to_retrieve: "2"
    spec:
      containers:
      - name: alpine
        image: alpine
        command:
          - "sh"
          - "-c"
          - "while true; do [ ! -f /secrets/timestamp ] || [ /secrets/secretsVersion.json -nt /secrets/timestamp ] && touch /secrets/timestamp && cat /secrets/secretsVersion.json && echo ''; sleep 15; done"
EOF
Then run the following command to deploy it:
kubectl apply -f sidecar.yamlThis will create a new pod called 'test-file-...' which you can find by running:
kubectl get podsCheck the logs of the app by running:
kubectl logs -l app=file-secrets -c alpineBecause of the annotation akeyless/side_car_versions_to_retrieve: "2", you should see output similar to the following showing the two latest versions of the Secret Value for the secret inside your pod:
[
  {
    "version": 4,
    "secret_value": "your-current-secret-value",
    "creation_date": 1234567890
  },
  {
    "version": 3,
    "secret_value": "your-previous-secret-value",
    "creation_date": 1234567890
  }
]
Update Secret and Automatic Update
Now you can update the secret value in Akeyless. Then wait at least 30 seconds and check the logs again:
kubectl logs -l app=file-secrets -c alpineBecause you have the sidecar enabled, you will now see new output with a new version in the logs:
[
  {
    "version": 5,
    "secret_value": "your-new-secret-value",
    "creation_date": 1234567890
  },
  {
    "version": 4,
    "secret_value": "your-current-secret-value",
    "creation_date": 1234567890
  }
]
For an in-depth list of annotations and some troubleshooting info, see the docs.
Updated 3 days ago