
Akeyless OIDC Identity Provider
Deeper DiveFor more in-depth information, check out our detailed documentation on the following topics:
OIDC App Provider
Need any help?If something in this tutorial isn't working as expected, feel free to contact our support team via Slack.
Below is a text-only guide for users based on the above video
What is OIDC?
The purpose of OIDC is for users to provide one set of credentials to securely access multiple sites without logging in multiple times. Each time users sign on to an application or service using OIDC, they are redirected to their Provider, in this case Akeyless, where they authenticate and are then redirected back to the application or service.
Akeyless as an OIDC Provider
Akeyless is an OpenID Connect, or OIDC, identity provider.
This means client applications that use the OIDC protocol can leverage Akeyless as the source of identity along with our numerous authentication methods to authenticate users.
In this demo, we will see how a dummy application can be accessed leveraging an Akeyless OIDC Provider to authenticate the user with their Akeyless Access ID by using a Group authentication method.
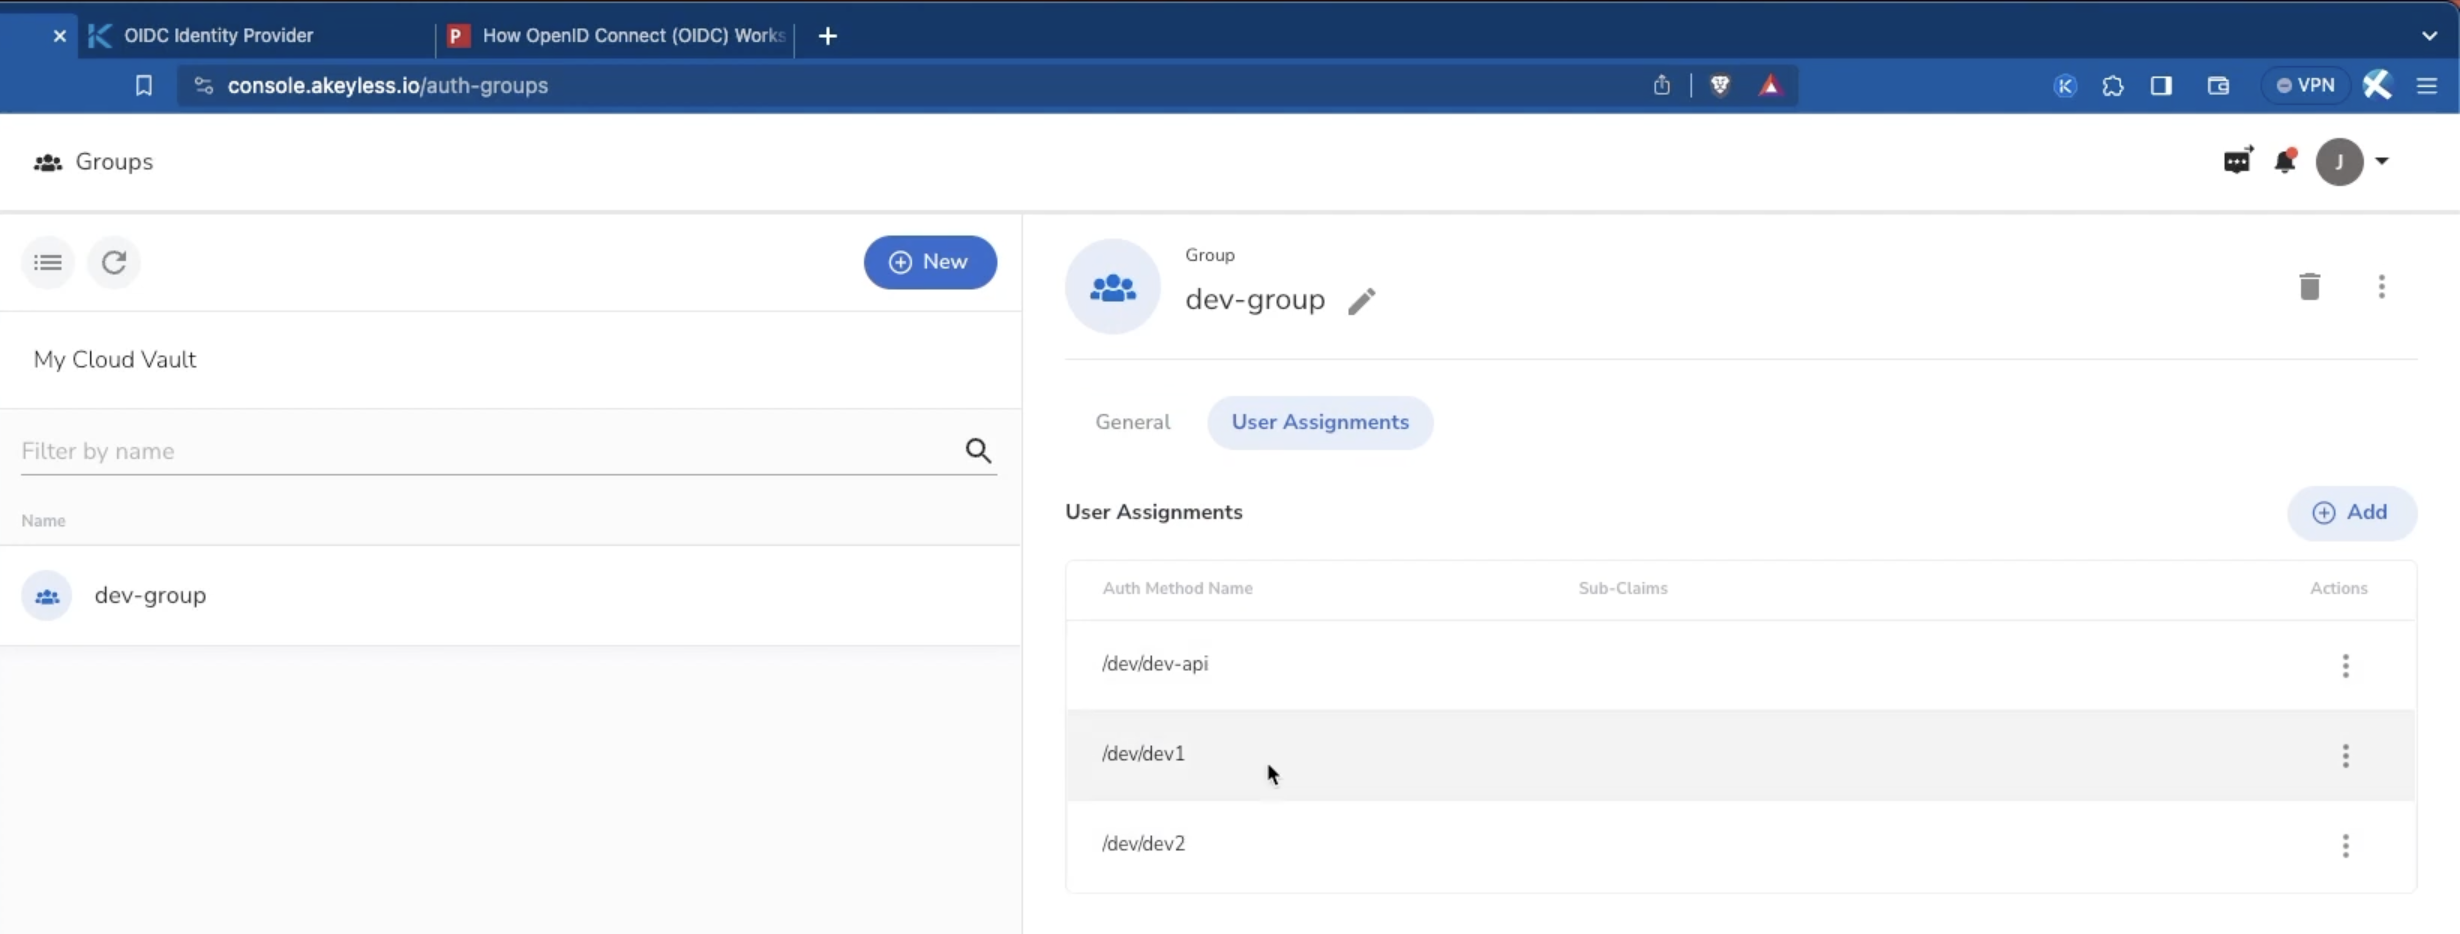
Create an Auth Method or Group
First, create an Authentication Method or Group. For this demo, it doesn't matter what permissions each has. In this demo, we have a Group of auth methods. You can also do this using the CLI.
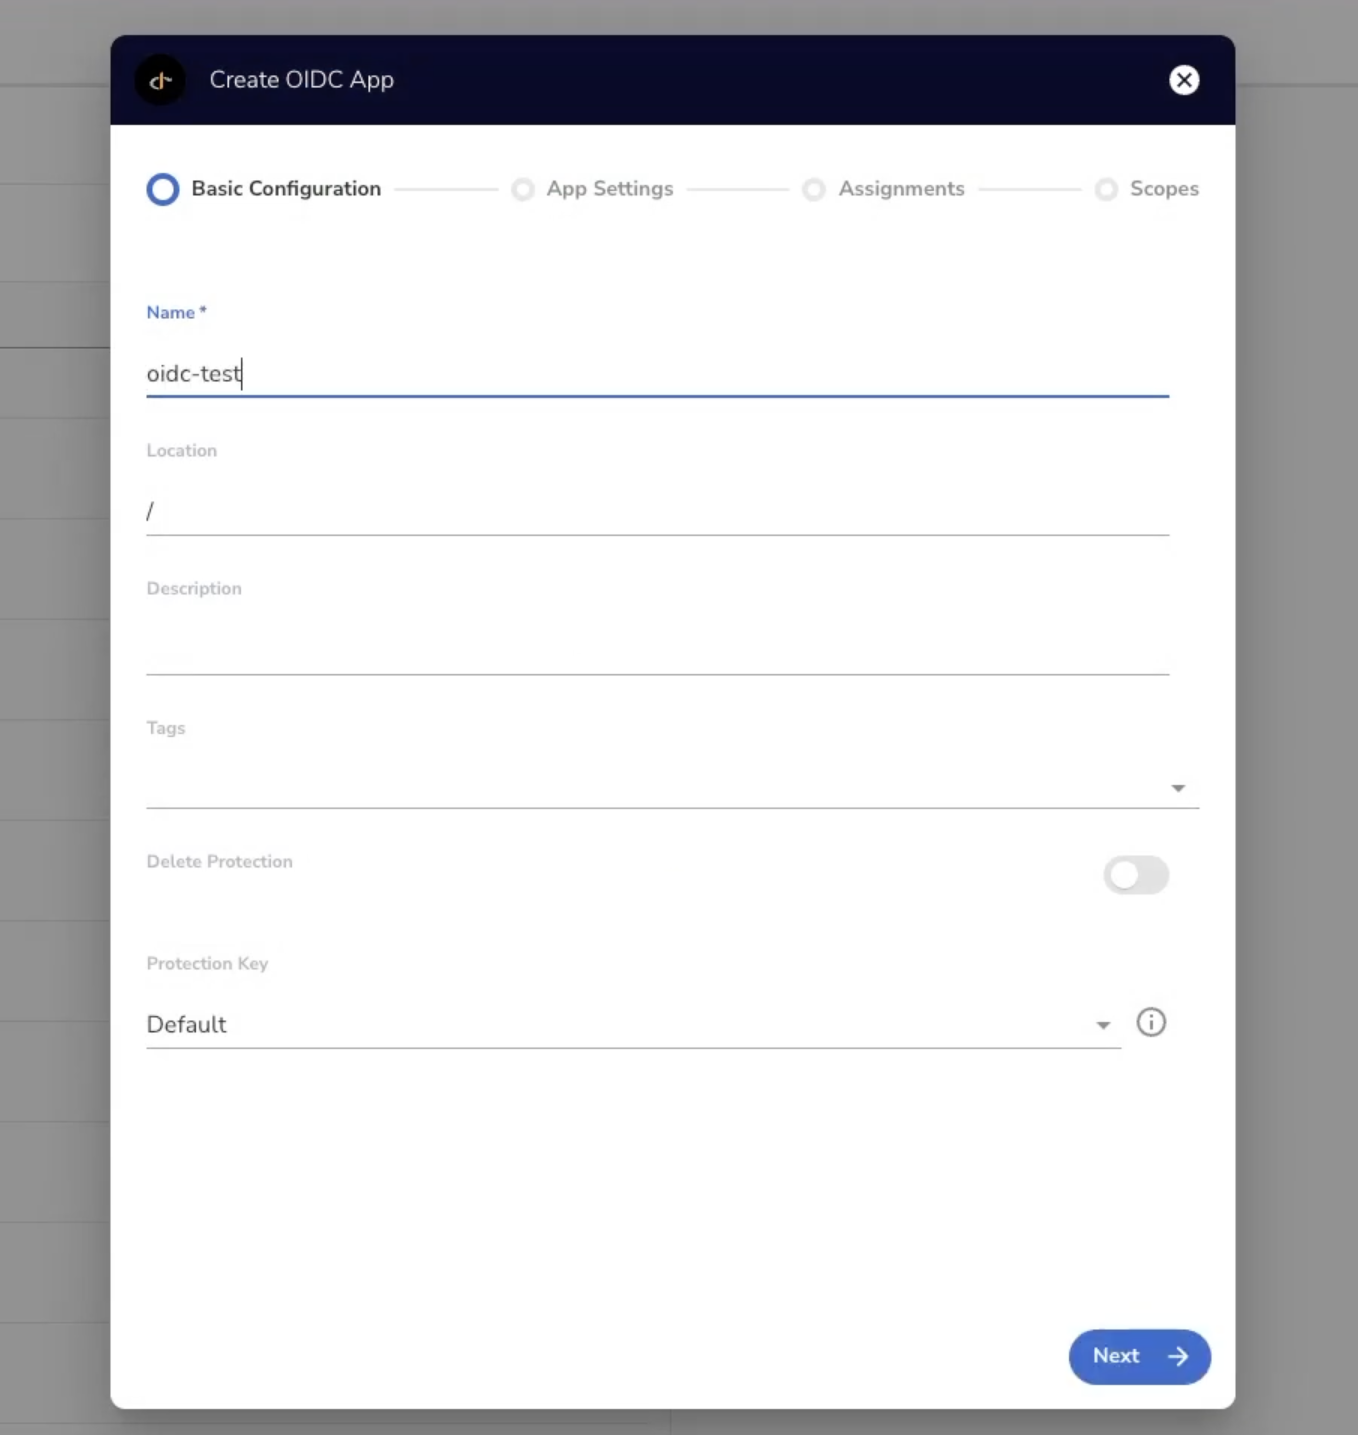
Create the OIDC App from the Akeyless Console
Next, create a new OIDC App from the Web UI by going to 'Secrets & Keys', clicking 'New', and choosing 'OIDC App'. Then, give the App a name and click 'Next'.
On the next screen, choose if you want the Client Type to be set to 'Confidential' or 'Public'. More information on the differences can be found here. Also, be sure to add one or more Redirect URIs where the user will be directed back to after authenticating and consenting from the OIDC App. Then click 'Next'.
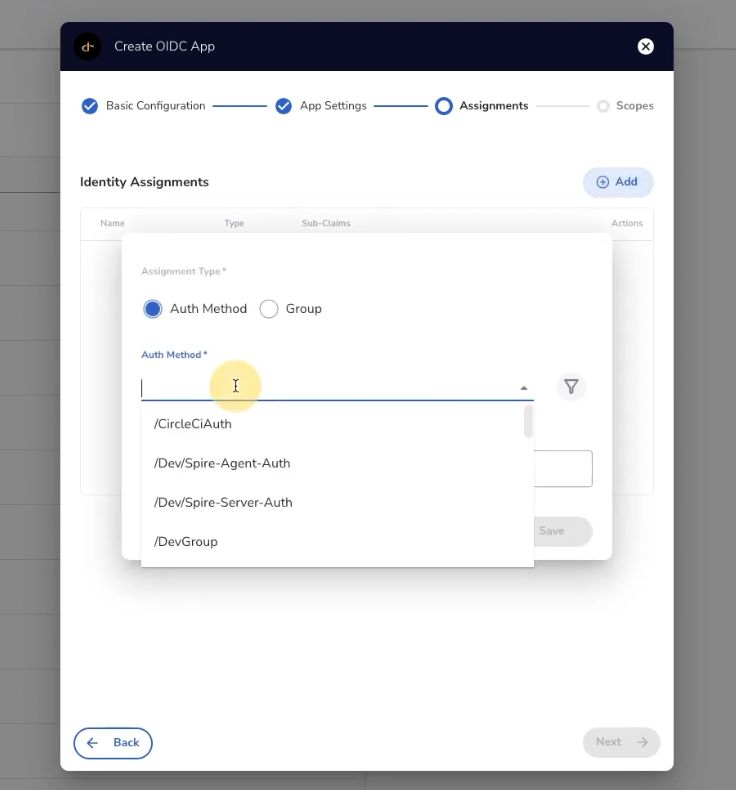
On the following screen you will see the Identity Assignments section. Here is where you add an Authentication Method and/or Group which will have access to the OIDC App. Then click 'Next'.
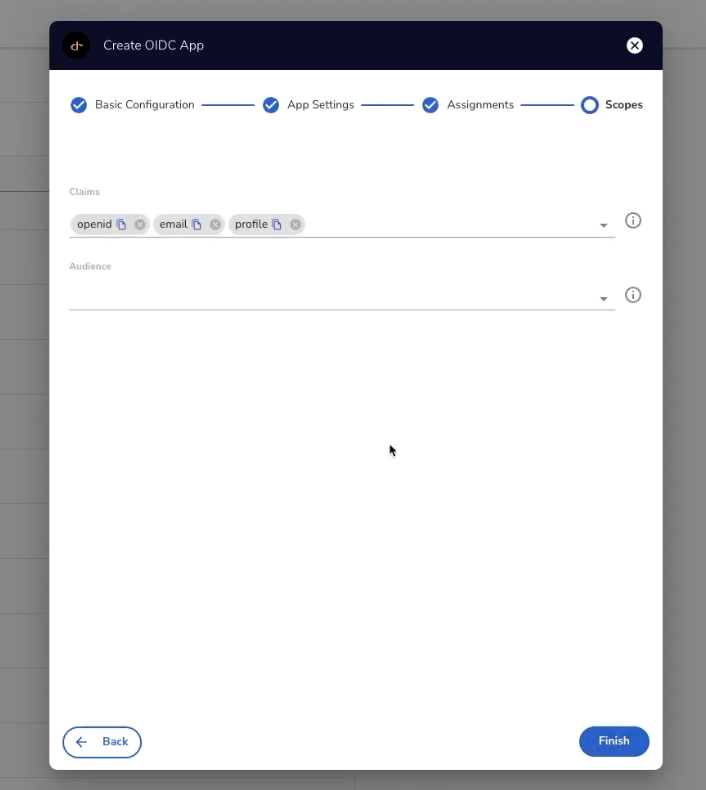
In the Scopes section, choose the optional Claims (or Scopes) and Audience and click 'Finish'. In our case, we will leave the defaults shown.
The output of this will be a new OIDC App which will have an Issuer URL, Client ID, and Client Secret which you will need for the next steps.

You can also create all of this via the CLI following the information in the link here.
Running a Sample App with OIDC Credentials
Now that you have you Akeyless OIDC provider ready, let's see an example application in action.
NoteThese steps are not shown in the video.
First, ensure you have go and 'git' installed on your machine. Then 'git clone' the following repo: https://github.com/dexidp/dex
Next, change directory into dex/examples/example-app and run go build .
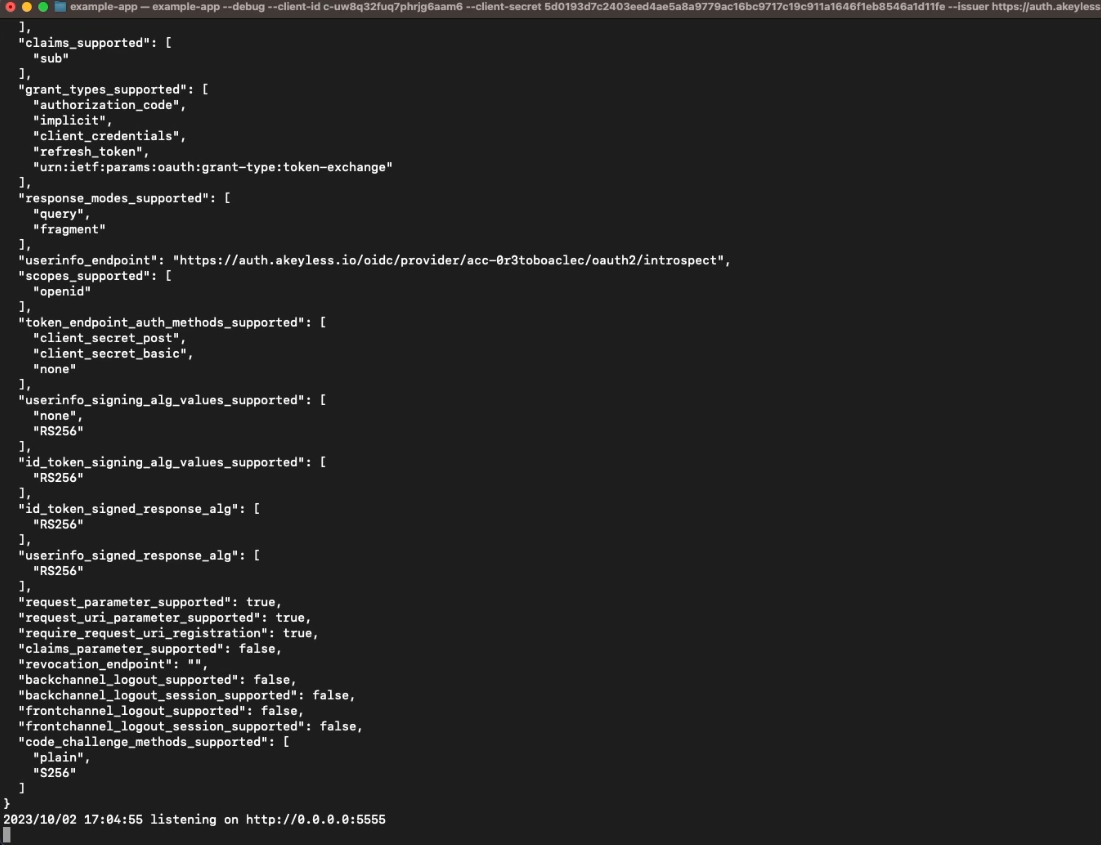
From the same directory, run the following command and be sure to add the details from the OIDC App created in the previous step.
./example-app --debug \
  --client-id <from prev steps> \
  --client-secret <from prev steps> \
  --issuer <from prev steps> \
  --listen http://0.0.0.0:5555 \
  --redirect-uri http://localhost:5555/callback
You will then see the app is up and running locally.
Now, open an incognito tab and go to http://localhost:5555 and you will see the application.
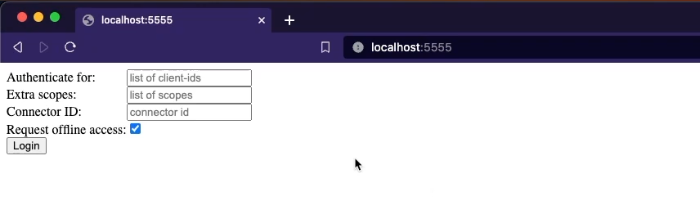
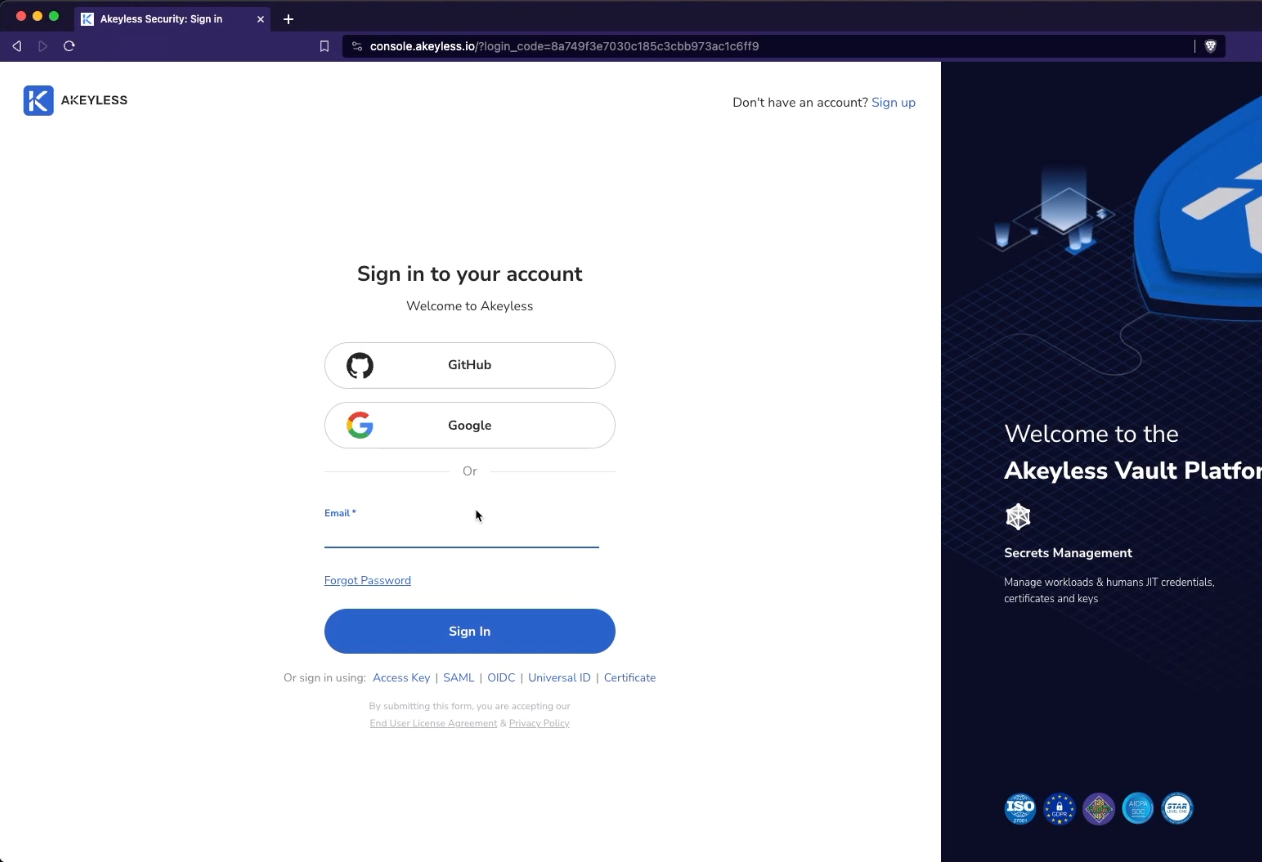
Just click the "Login" button and you will be redirected to Akeyless Console to authenticate. You must log in with one of the Authentication Methods you added in the Identity Assignments section when setting up the OIDC App.
Once you log in, you will see a screen where you need to agree to give access to the various Scopes/Claims we saw earlier and click 'Continue'.
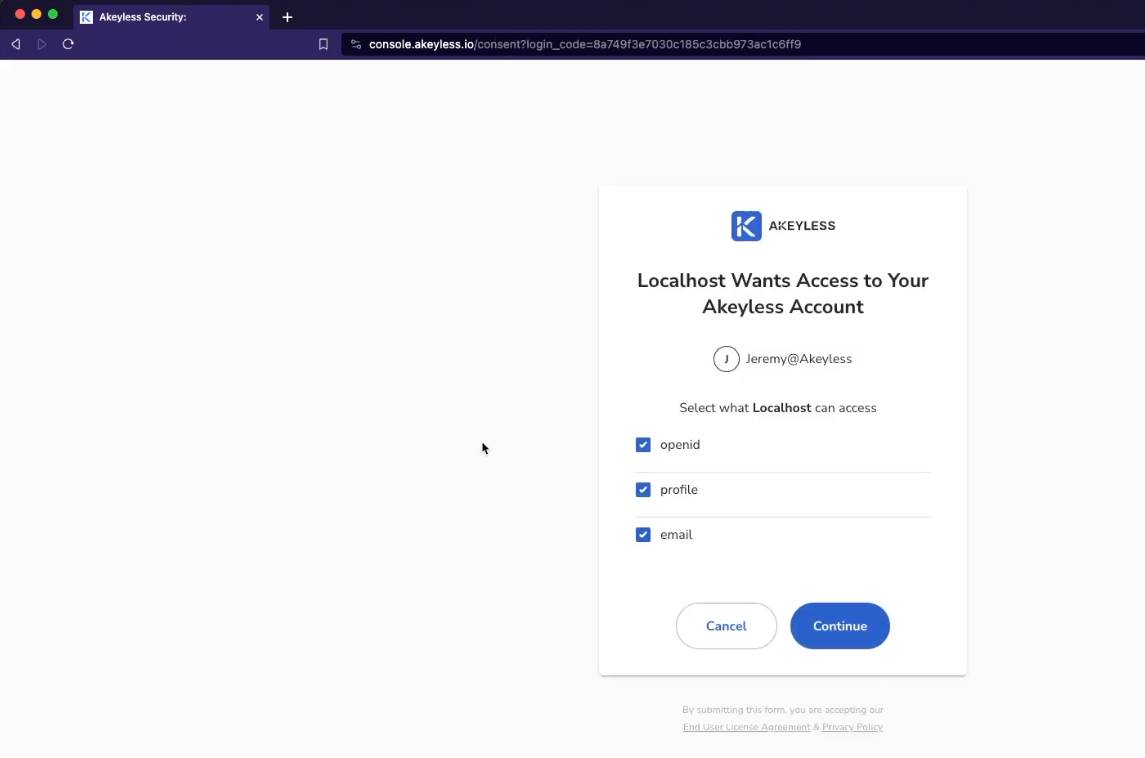
From there, you will be logged into the application successfully and you will see the output which is information about your tokens and claims.
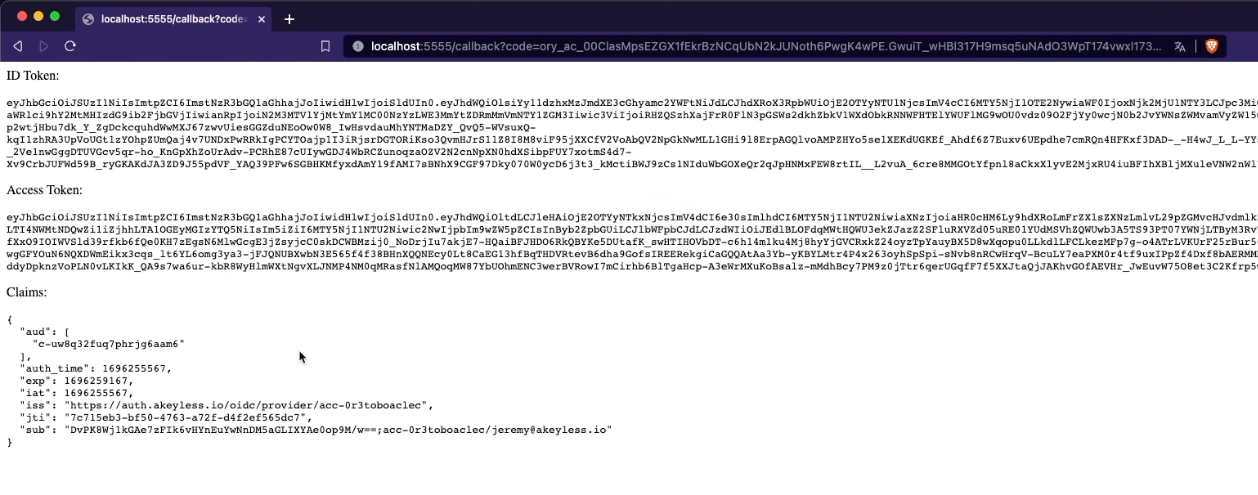
That's it - it worked!
Updated over 1 year ago